
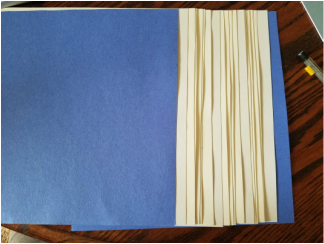
So, wallpaper is impossible to find, and since that was going to be my cover material, I had to make alternate plans. I have used scrap booking paper, which is fine, I am already familiar with this material. It just won't be as sturdy as I had originally planned. Anyways :
here's a material list:
2 12X12 scrap booking pages
2 9X9 pieces of cardboard
9X9 pieces of filler paper
2 8 1/2X8 1/2 pieces of colored paper
paint brush
wood glue
ruler
X-acto knife
drill
pencil
scissors
13 gauge needle
thread
binder clips
paper towels
As with the other books, the longest process was the cutting of the paper and other materials. If I am going to continue doing this I am going to need to invest in a paper cutting board to help save time.
 |  |
Creating the covers
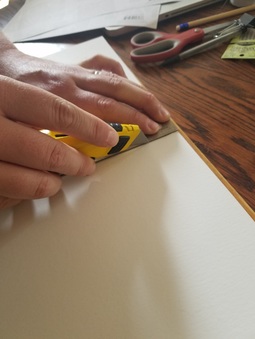
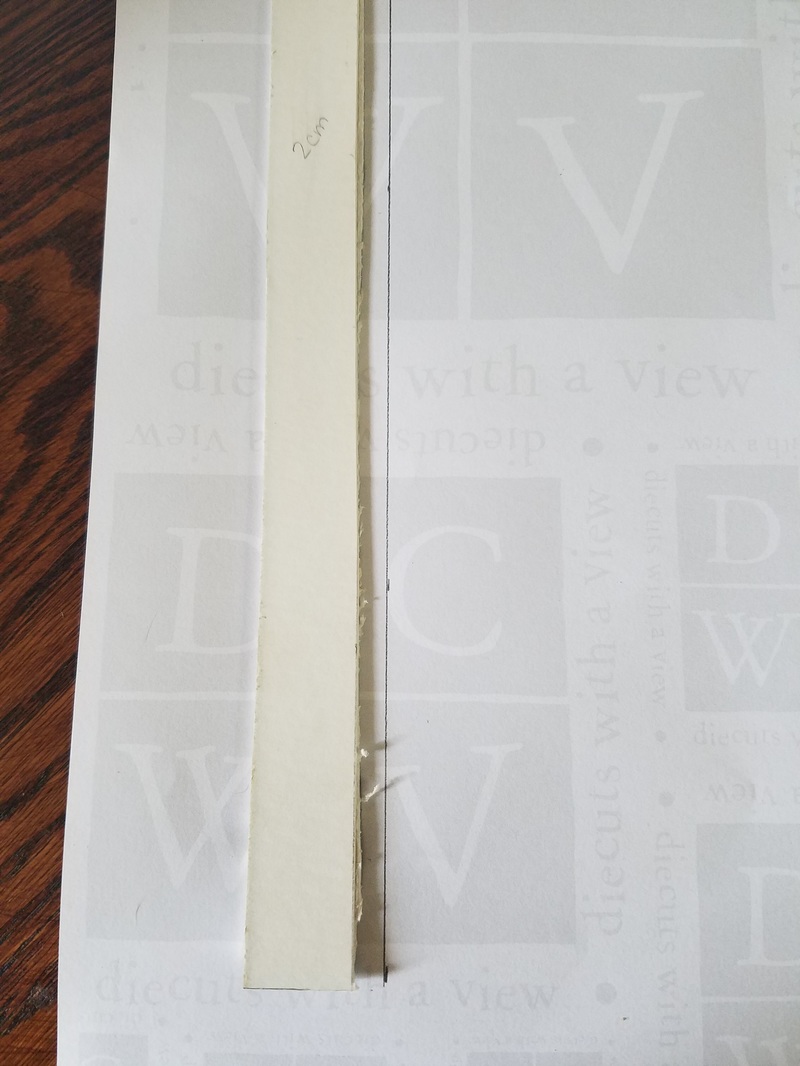
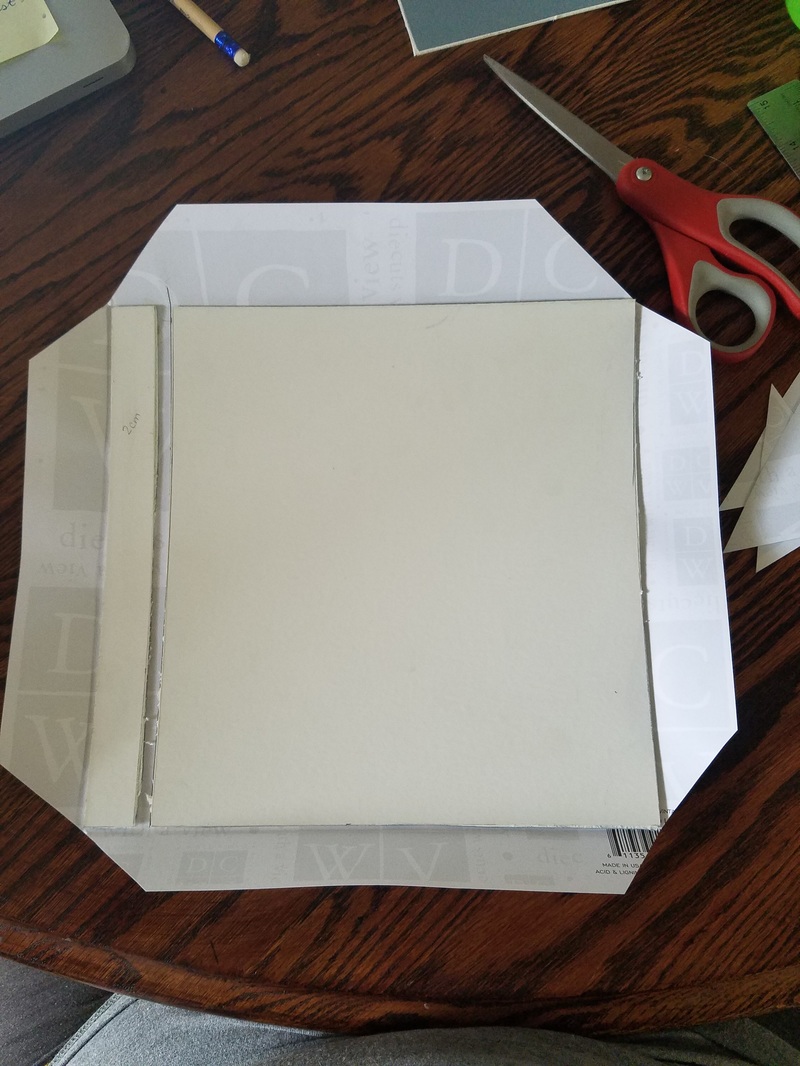
Step 1: Using the X-acto knife, cut 2 centimeters off of the cardboard, this will be used for the hinge. A hinge with the hardcover book is highly important, it is what allows you to actually be able to open the book. (pro tip: use the edge of the metal ruler to help you cut a straight line) See image right above.
Step 2: Using the wood glue and the paintbrush, glue the 2 centimeter piece and the remaining part of the cardboard to middle of the 12X12 piece of scrap booking paper. There should be a 1/4 of an inch gap between the two piece. This is the hinge and will be the space where the holes for the binding will go. See images below.
 | 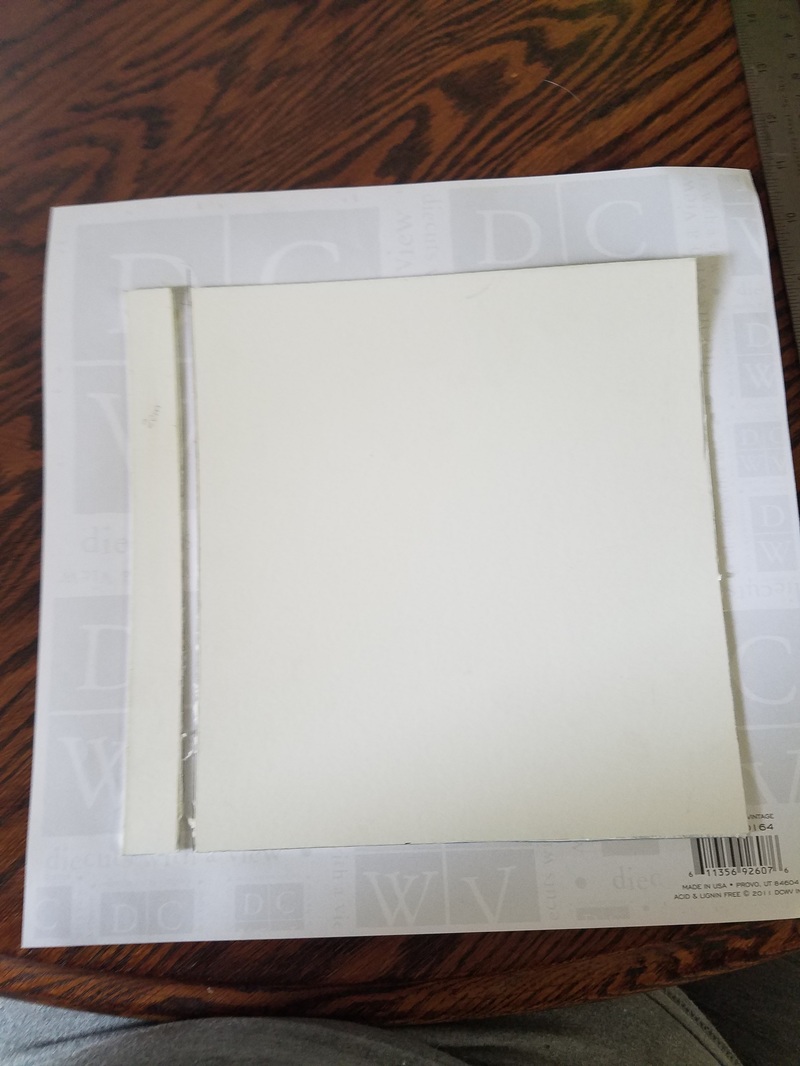 |
Step 3: Cut off the corners of the scrap booking paper, so that you can fold the extra paper over while making neat corners (pro tip: don't cut right next to the cardboard leave about 1/8 inch of the scrap booking paper. This will help you create neater corners) and pre-fold the paper to create a crease, so that you know where to put the glue. See image left below.
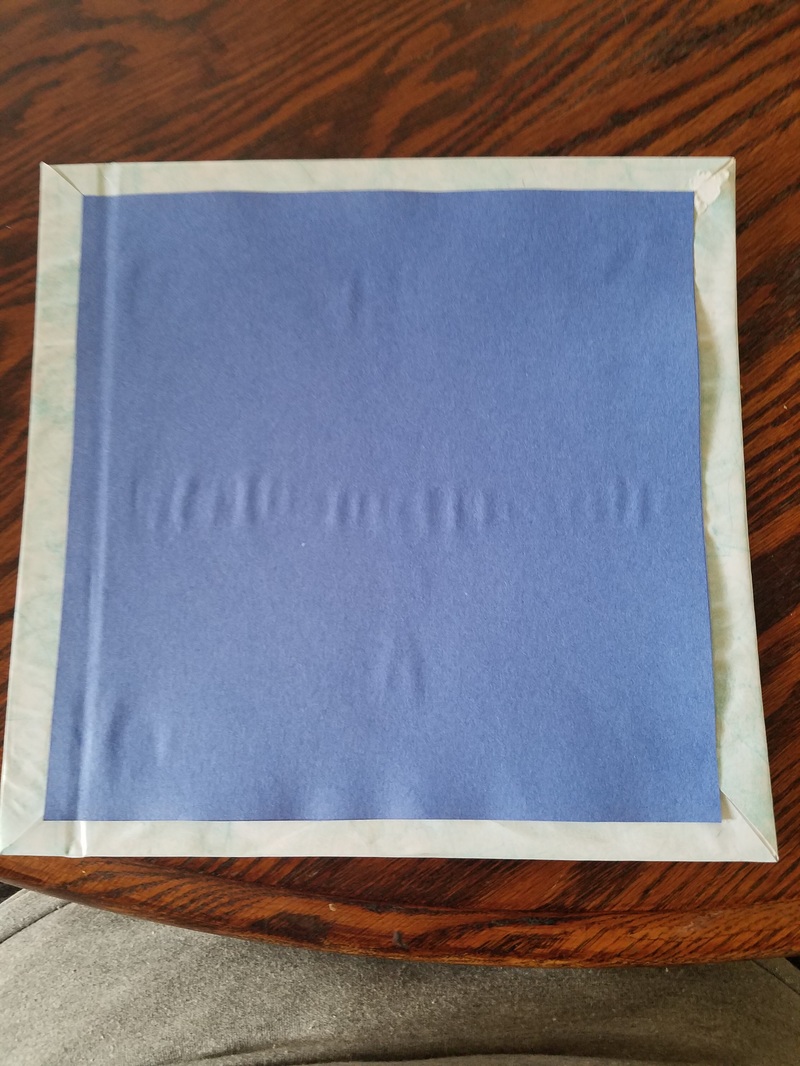
Step 4: Take one of the 8 1/2X8 1/2 pieces of colored paper and, using the wood glue and paintbrush, paste it to the inside of the cover, so that it is covering up the blank space in the middle. See image right below
Step 4: Take one of the 8 1/2X8 1/2 pieces of colored paper and, using the wood glue and paintbrush, paste it to the inside of the cover, so that it is covering up the blank space in the middle. See image right below
 |  |
Step 5: repeat the process of the other cover
Step 6: Set these covers aside to dry. I let mine rest for 24 hours, but I'm sure 3-4 hours will be fine.
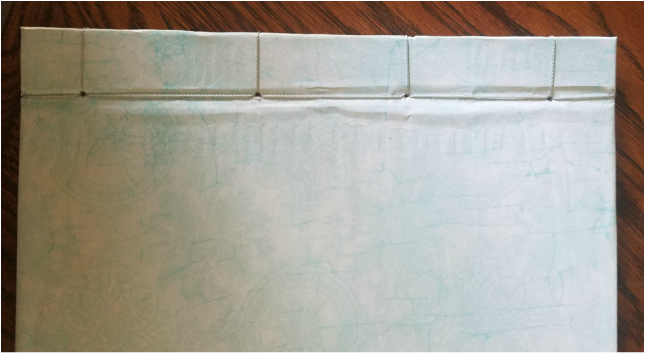
After the covers have dried, you can begin measuring, drilling, and binding the book in method of your choosing. For this book I decided to use the box stitch again, instead of the Hempleaf stitch. It looked neater, and was easier to keep the material tight so that the binding correct instead of loose.
There was one issue that I had, wrinkling. It wasn't a problem that I was expecting to come across, but once I started opening the book there was a major wrinkle near the hinge. I'm not sure how to remedy this for future use, if it is a matter of material used (scrap booking paper instead of something sturdier, like wallpaper) or if it is a matter of not enough drying time
Step 6: Set these covers aside to dry. I let mine rest for 24 hours, but I'm sure 3-4 hours will be fine.
After the covers have dried, you can begin measuring, drilling, and binding the book in method of your choosing. For this book I decided to use the box stitch again, instead of the Hempleaf stitch. It looked neater, and was easier to keep the material tight so that the binding correct instead of loose.
There was one issue that I had, wrinkling. It wasn't a problem that I was expecting to come across, but once I started opening the book there was a major wrinkle near the hinge. I'm not sure how to remedy this for future use, if it is a matter of material used (scrap booking paper instead of something sturdier, like wallpaper) or if it is a matter of not enough drying time
However, I like the look of this book over all, and I think it might be a tradition I continue with for my classes.
The Things I have Learned:
1. How expensive is this? - This cost about 20.00 because of the need for the cardboard, scrap booking paper, and gas needed to drive around town to figure out that nowhere sells wallpaper.
2. Are there enough online blogs and tutorials to cover my lack of knowledge? - The tutorial I used this week was called Coloresque by Caroline.
3. Are there different kinds/styles of book binding?- Yes, yes there is. Read Blog #1 to learn about some, go to my Pinterest board to learn more. Blog #2 I use the Box Stitch, Blog #3 I use the Hempleaf stitch. And, this week I went back to using the box stitch.
4. Is there a potential to hurt myself? - Yes, there was an X-ator knife (which again my husband did not let me use), a drill (which I did get to use), and the sewing needle (I only stabbed myself once) Blog #2 I burned my hand with the ribbon and Blog #3 I poked my hand about three times with the needle.
5. How quickly does book binding happen? - Blog #2 (the Box stitch and first attempt) took me about and two and half hours to make. Blog #3 took me about one and a half hours, because measuring and cutting paper takes time. This week took me about an hour.
6. Is there a "master" local book binder I can learn from? - I think I am going to stick with my online masters. If I happen to come across someone who knows more about book binding and can talk to me about I will defiantly have a LONG conversation with them, but I'm not going to go seek anyone out.
7. What am I going to create, a journal, a binding of my students work, a collection of poems that inspire me? - I am defiantly creating journals, and the first two are going to be Thank you gifts for my TA's and the last one will be a collection of poems from my students (who do inspire me).
8. Is this more difficult the bigger the book gets? - The actual stitching does not get more difficult, but it does take more material. One thing I am noticing that becomes more difficult is keeping the stitching tight. HOWEVER, with the hardcover, the larger book was easier to manipulate and it was easier to pull the thread tighter than in the paperback books when there was a fear of tearing the material.
9. How can I make larger holes, can I continue to use the binding awl, or will I need to use another tool? I needed to use the power drill to make the holes for this book, I am sure I will need it to make hole for my last book. I did need it, I probably wont go back to using an awl, I'll use the power drill.
10. How will I get a hole through a hard cover? - I'm not doing the hard cover until Blog #5, and I am 99% sure I will be using the drill. I did. I was useful.
11. Can I, should I, use a smaller gauge needle? - I did not need to change the gauge of my needle because I made larger holes and used smaller treading material.
12. How do I make a fold seam on a hard cover book? I have began researching this, and it is going to take some math :( The math wasn't so bad. It actually made sense to me, which is a great thing.
13. What is the best material to use when making my own paper? Anything really, from recycled paper, to dryer lint, to feathers. The best item that was mentioned was the produce flats that go in between the layers of fruit shipped to a grocery story. I couldn't get a hold of these in time, so I used my nephews old drawings.
Answers to New Questions:
14. Where can I find wallpaper? Seriously, I have looked everywhere, where is the world hiding it? NOWHERE!!! It doesn't exist anymore. Ok, that's not entirely true. You can order it online, but it would have taken too long to get here for the purposes of this blog.
15. Next week I use an X-acto knife, any safety tips? Just hand that job over to the husband who has years of practice welding this apparently dangerous tool.
Welp, that's it folks. I will do one more blog to wrap up my entire learning, but as for right now I wont be making another book... my students will be doing this though, and will I share a blog about that whole process. So, two more blogs I guess
