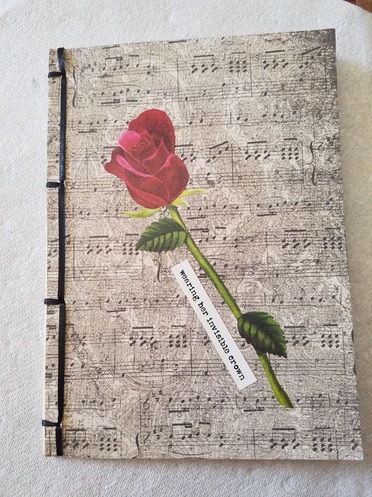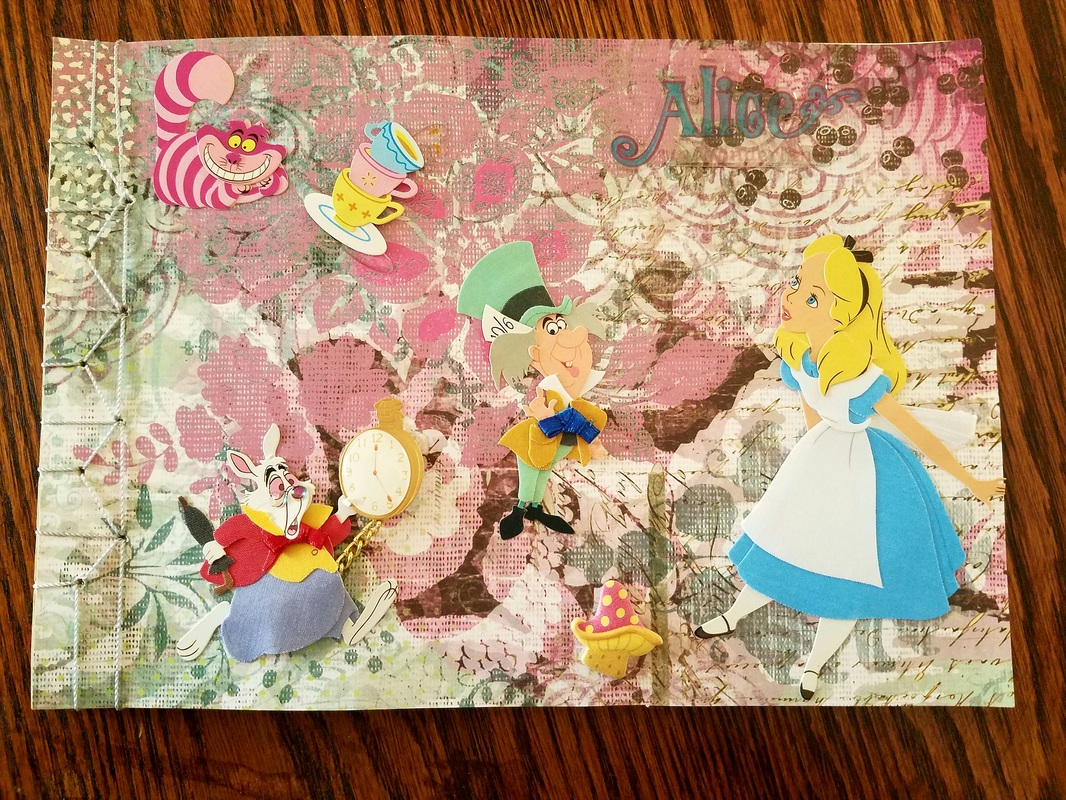
I thought this title was apropos for this blog, considering the next book I made was a Alice in Wonderland themed book.
I have decided that these books have the grand purpose of being Thank you gifts to my TA's. Except the last one. That one will be for me and will have poems from my students written in it.
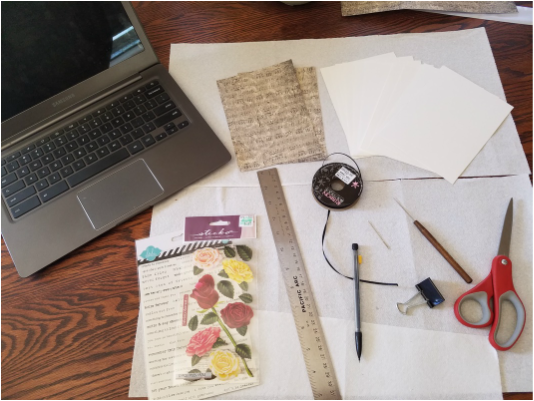
This book was a lot easier to put together, because at this point I have a much better understanding of what I am doing. I up'ed the ante by using a more complex stitch, which took more time and concentration, so I wasn't able to take as many pictures as I did last time. But, I did capture the beginning and the end and a few of the more important steps.
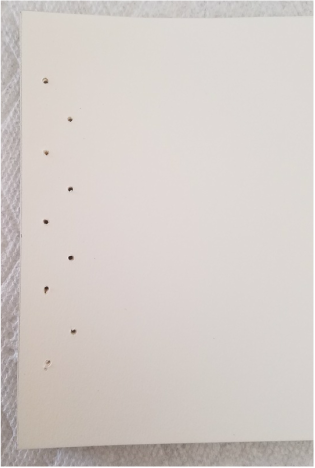
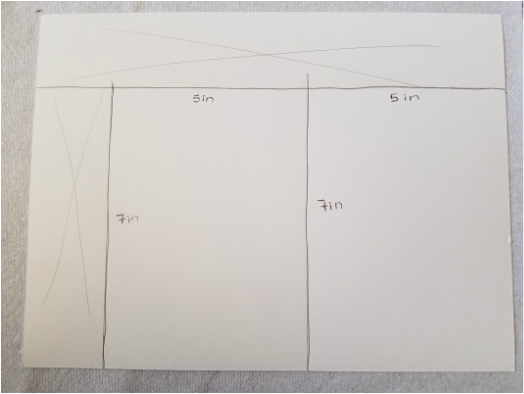
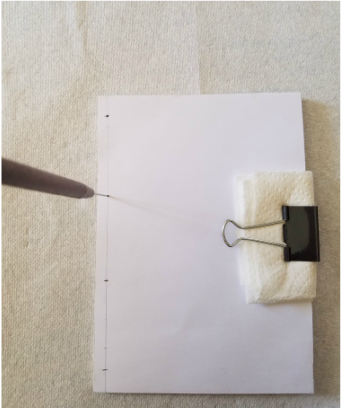
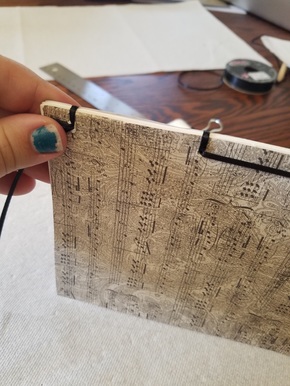
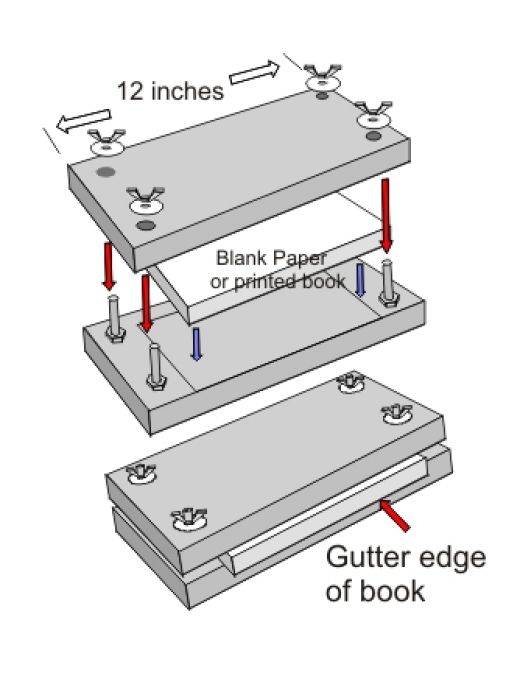
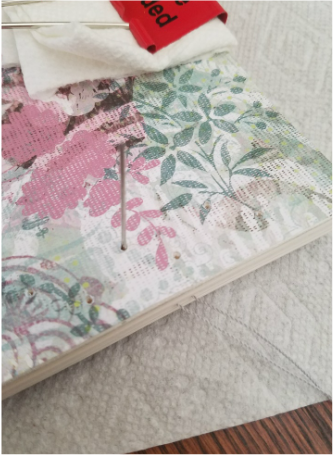
This week I used 16 sheets cut to 8 1/2 X 6. Last week I used 12 5X7 sheets, and it was difficult to get the needle and ribbon through the holes, so I broke out the power tools. I drilled nine holes, 5 were 3/8 of an inch from the seam of the book and 4 were 5/8 from the seam, alternating in a zigzag pattern as seen above. I made the holes with a 5/16 bit for the holes themselves. It's important that I make the holes bigger, and use a more sturdy tool than the binding awl.
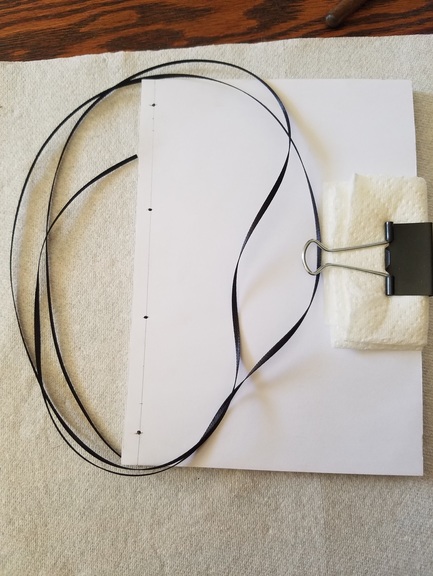
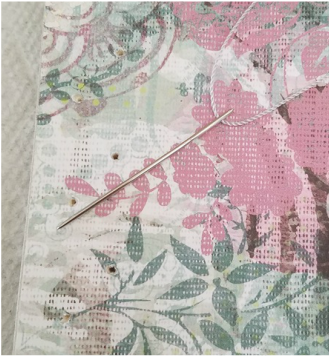
I also used a smaller threading material. This week I used a grey nylon twine rather than satin ribbon. This allowed me to pass through each hole without resorting to a painful and sightly humiliating form of calisthenics, which was so helpful for this week's stitching method, the Hempleaf (also called the Y stitch), because you pass through some holes five times, instead of three times with the box stitch. I used about 42 inches of twine for this project. Last week I used 25 inches.
I also used a smaller threading material. This week I used a grey nylon twine rather than satin ribbon. This allowed me to pass through each hole without resorting to a painful and sightly humiliating form of calisthenics, which was so helpful for this week's stitching method, the Hempleaf (also called the Y stitch), because you pass through some holes five times, instead of three times with the box stitch. I used about 42 inches of twine for this project. Last week I used 25 inches.
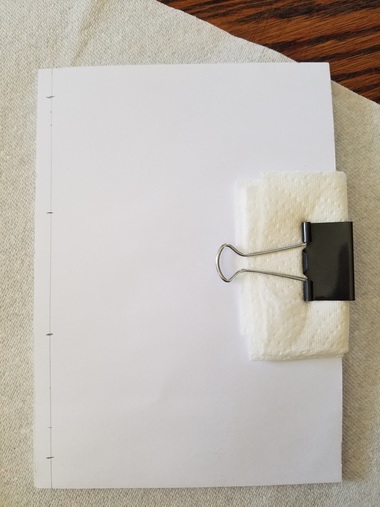
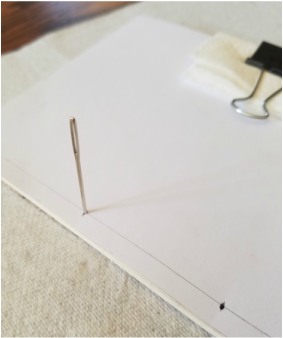
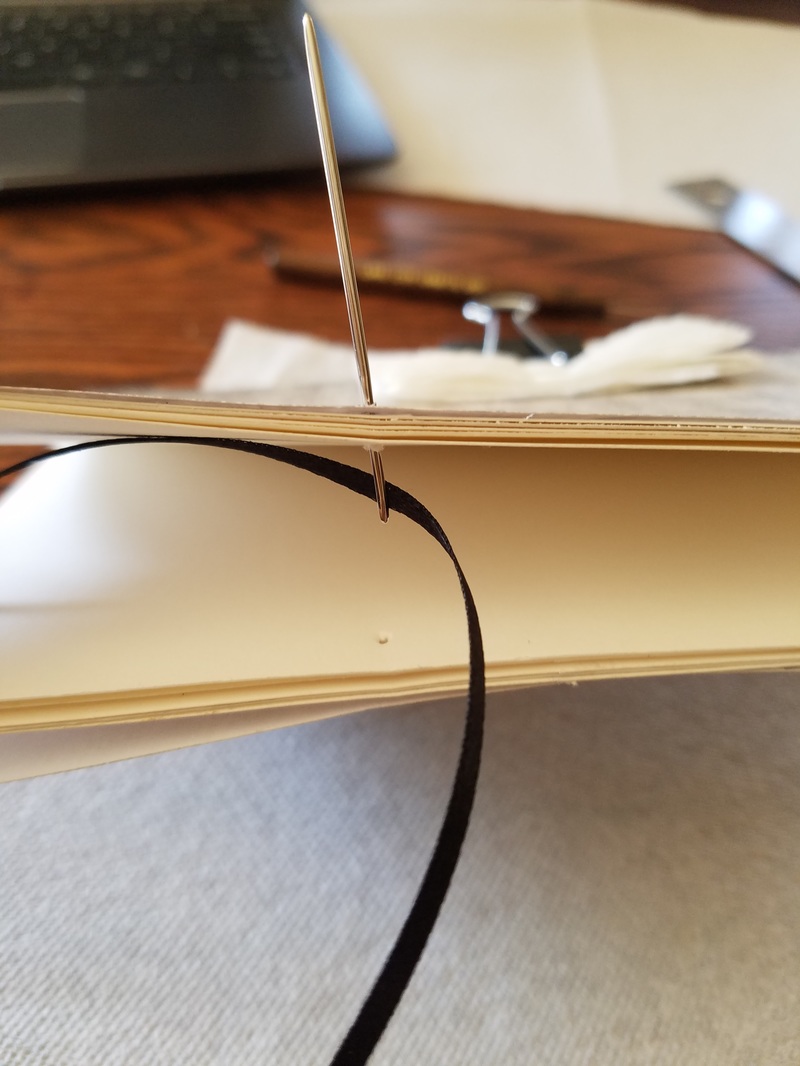
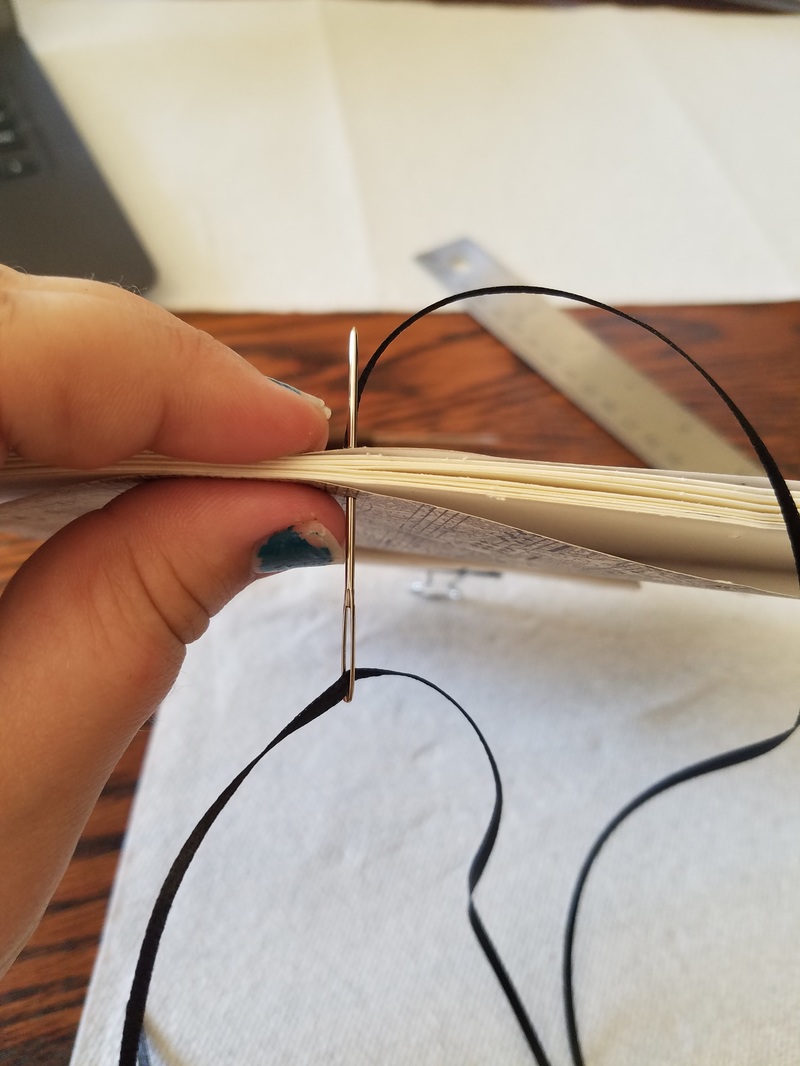
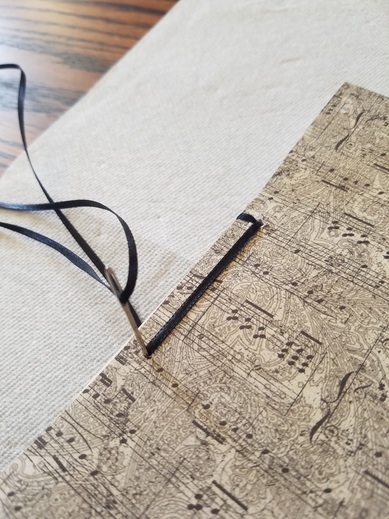
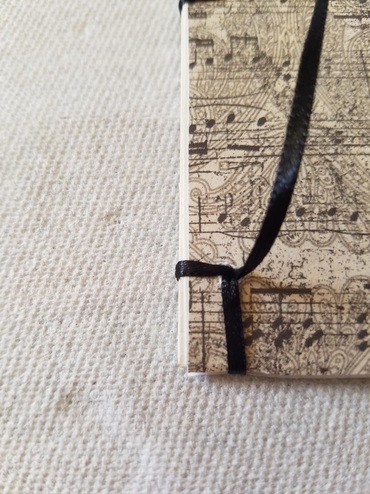
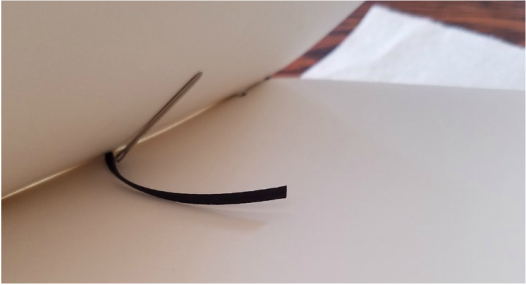
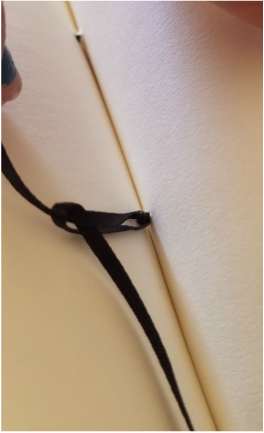
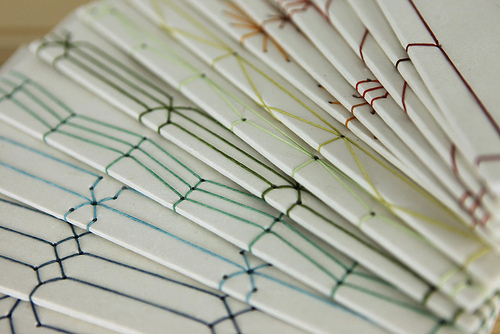
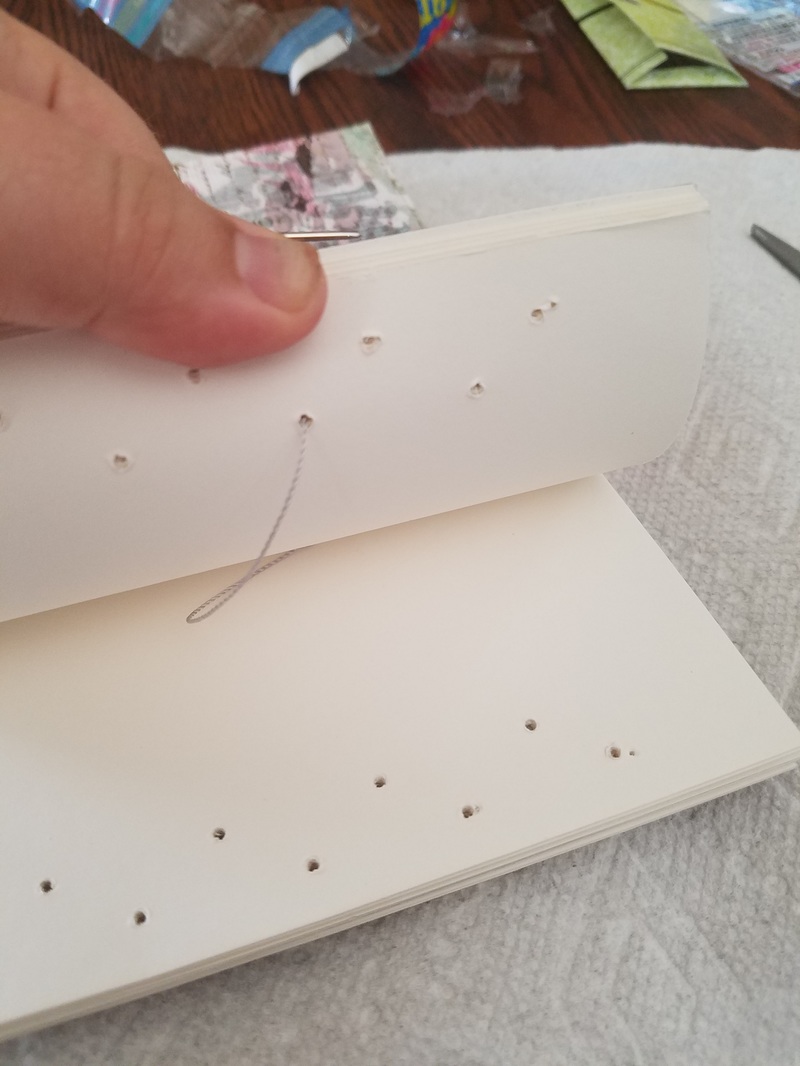
The 4 inside holes are going to be the "main" holes that you use, and the 5 outside holes will be used to create the Y shape. So, like with the box stitch, we start on the second hole from the bottom, half way through, starting from the bottom (see below left). Wrap back around to complete the first stitch, making sure to leave a tail of about 4 inches tucked into the book so that you can make your knot at the end (see below right). The steps for this kind of stitch in complex, and difficult to put into words, so, instead, I am providing you with the link to the diagram that I used to help me re-create this stitch. It comes from Amphian Photography, and I found it incredibly useful.
 |  |
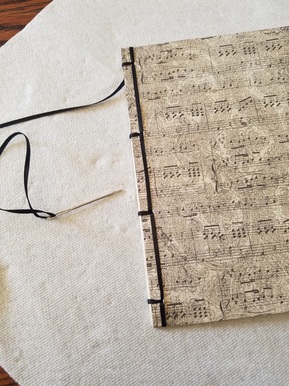
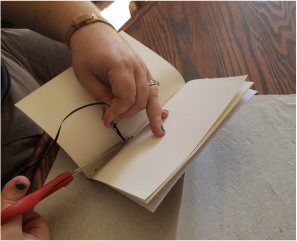
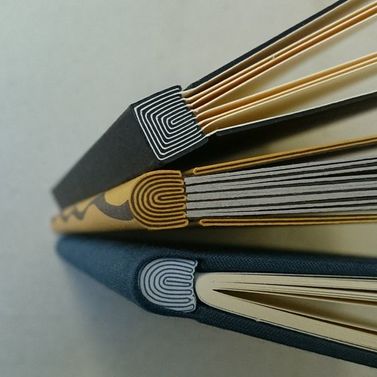
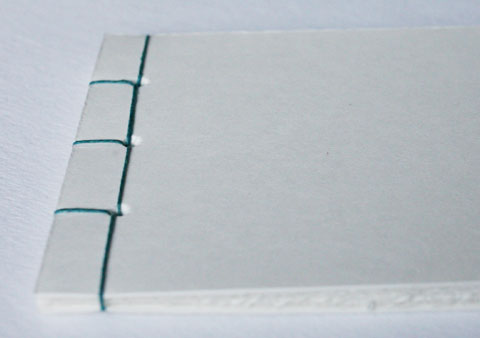
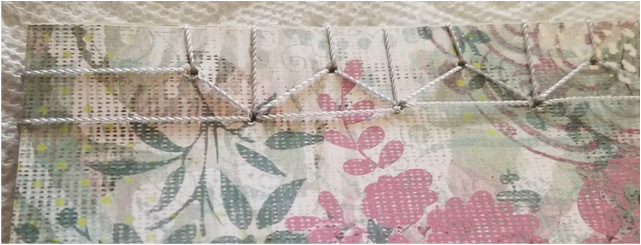
After all of the stitching is done the product looks like boxes with Y's put in the middle of them (see below). I then decorates with stickers and the book is ready to be gifted to my TA. I'll post about that next week, because for the next blog might not be very long. It will be about creating paper to use in my final project. I will be having my students write their own poems, using the paper I made, to record in this final book for all posterity. I'm really excited about it.
1. How expensive is this? - This stitch was not as expense to do as the other because I already had all of the tools I needed to make this book. It cost me about 10.00.
2. Are there enough online blogs and tutorials to cover my lack of knowledge? - Amphian Photography was useful this week.
3. Are there different kinds/styles of book binding? (see ... lack of knowledge) - Yes, yes there is. Read Blog #1 to learn about some, go to my Pinterest board to learn more. Blog #2 I use the Box Stitch, Blog #3 I use the Hempleaf stitch.
4. Is there a potential to hurt myself? - Yes, I am using a needle and a small shank. This is a possibility. Keep band aids handy. Blog #2 I burned my hand with the ribbon and Blog #3 I poked my hand about three times with the needle.
5. How quickly does book binding happen? - Blog #2 (the Box stitch and first attempt) took me about and two and half hours to make. This one took me about one and a half hours, because measuring and cutting paper takes time.
6. Is there a "master" local book binder I can learn from? - I think I am going to stick with my online masters. If I happen to come across someone who knows more about book binding and can talk to me about I will defiantly have a LONG conversation with them, but I'm not going to go seek anyone out.
7. What am I going to create, a journal, a binding of my students work, a collection of poems that inspire me? - I am defiantly creating journals, and the first two are going to be Thank you gifts for my TA's and the last one will be a collection of poems from my students (who do inspire me).
8. Is this more difficult the bigger the book gets? - The actual stitching does not get more difficult, but it does take more material. One thing I am noticing that becomes more difficult is keeping the stitching tight.
Answers to last weeks New Questions:
8. How can I make larger holes, can I continue to use the binding awl, or will I need to use another tool? I needed to use the power drill to make the holes for this book, I am sure I will need it to make hole for my last book.
9. How will I get a hole through a hard cover? - I'm not doing the hard cover until Blog #5, and I am 99% sure I will be using the drill.
10. Can I, should I, use a smaller gauge needle? - I did not need to change the gauge of my needle because I made larger holes and used smaller treading material.
New Questions:
11. How do I make a fold seam on a hard cover book?
12. What is the best material to use when making my own paper?