So, this week was the week I was suppose to make my own paper, and in my defense, I tired, I really did. But, despite my numerous tutorial videos and blogs, I was unable to get the slurry to hold shape long enough to move it to a drying mat.
Regardless of my failed attempt I will post about what I attempted and succeeded doing.
The materials that you need for this project are extensive, so I will break it down into steps.
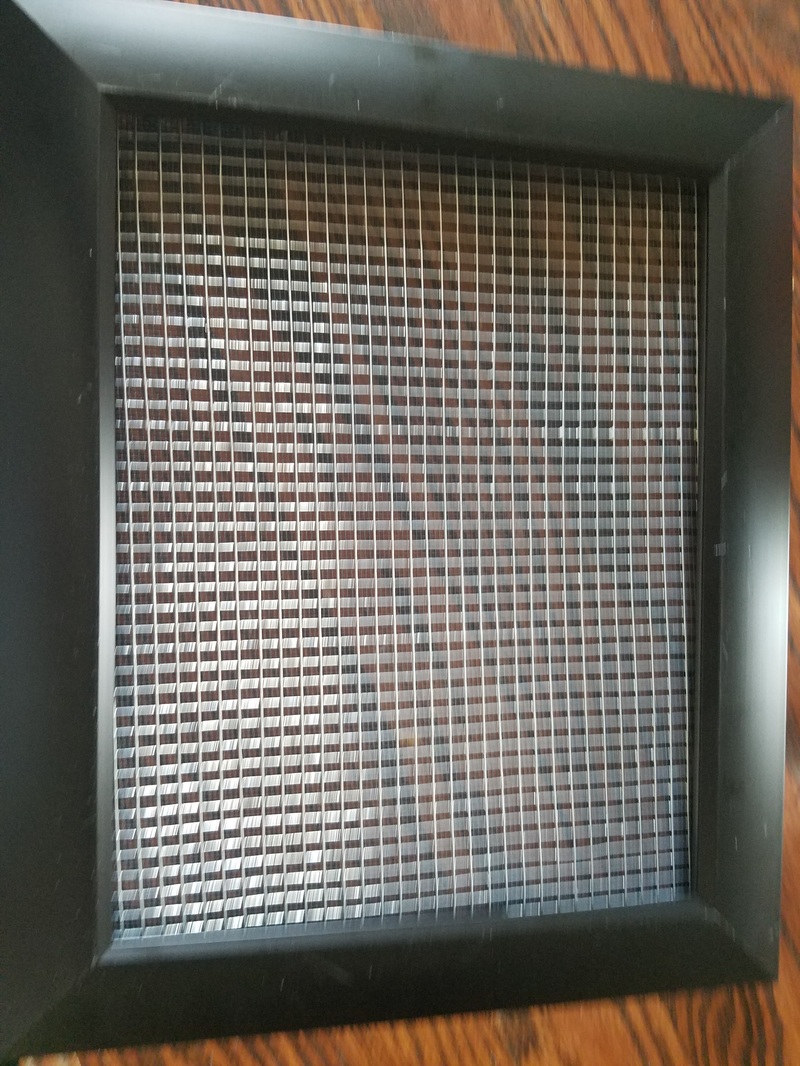
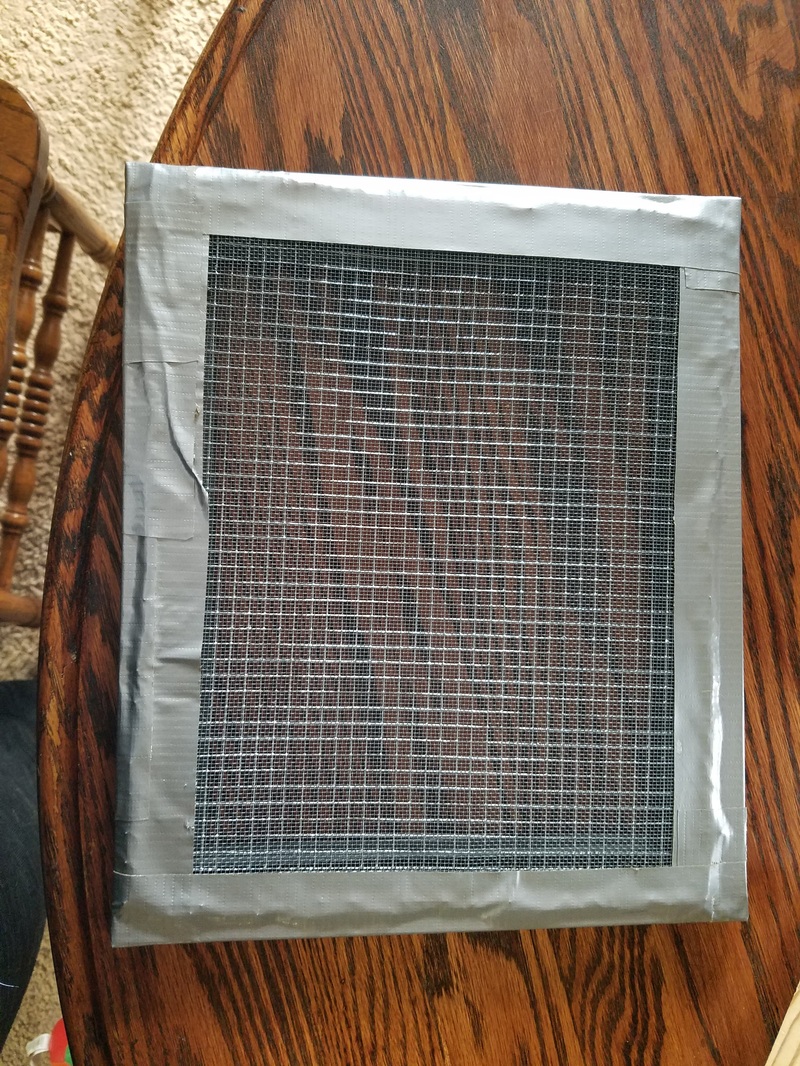
Step 1 - make a Mould and Deckle
This is the frame that you will use to help give your paper the rectangular shape.
You will need:
I think this turned out pretty well, though there were a few times that I injured myself because I was working with metal wires and tools. Nothing worse than a papercut, but I would suggest using the gloves and covering all the edges with duct tape.
Regardless of my failed attempt I will post about what I attempted and succeeded doing.
The materials that you need for this project are extensive, so I will break it down into steps.
Step 1 - make a Mould and Deckle
This is the frame that you will use to help give your paper the rectangular shape.
You will need:
- 2 picture frames – just the frames, no glass or backing
- Hardware Cloth – a type of stiff wire mesh used for fencing, screen doors, etc.
- Window screening – use aluminum, not fiberglass
- Foam Weatherstrip Tape
- Staple gun & staples
- Duct Tape
- Wire cutters
- Gloves for safety
I think this turned out pretty well, though there were a few times that I injured myself because I was working with metal wires and tools. Nothing worse than a papercut, but I would suggest using the gloves and covering all the edges with duct tape.
 |  |
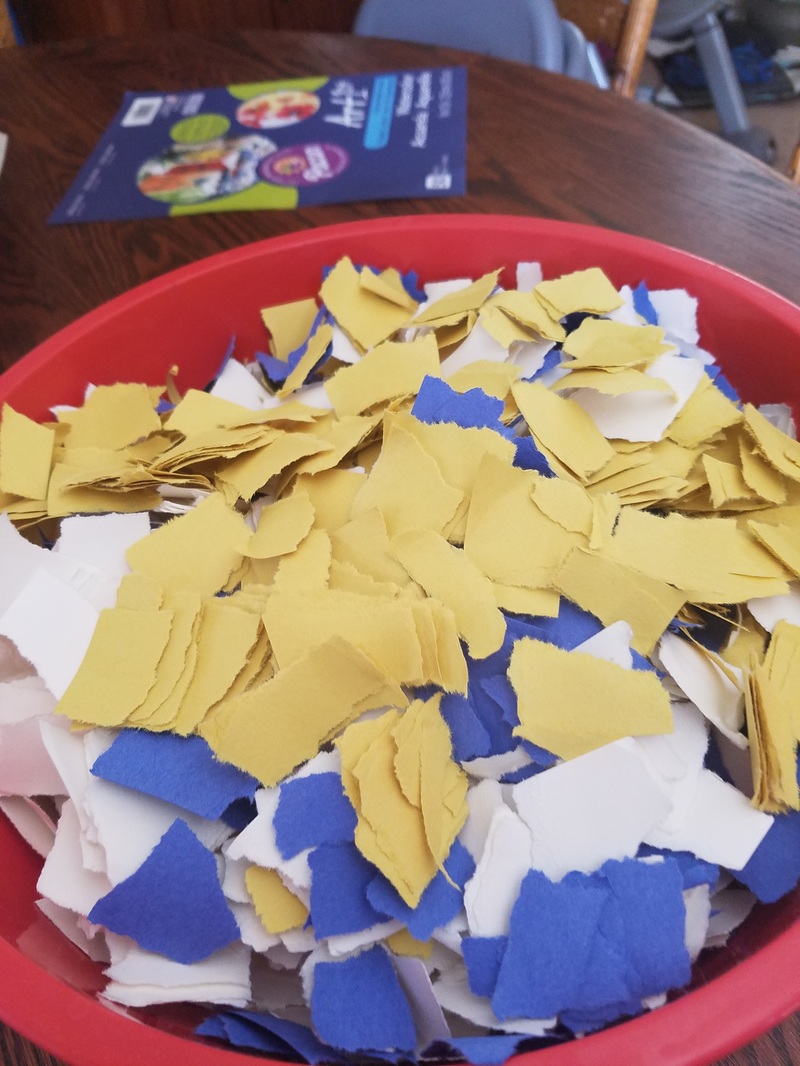
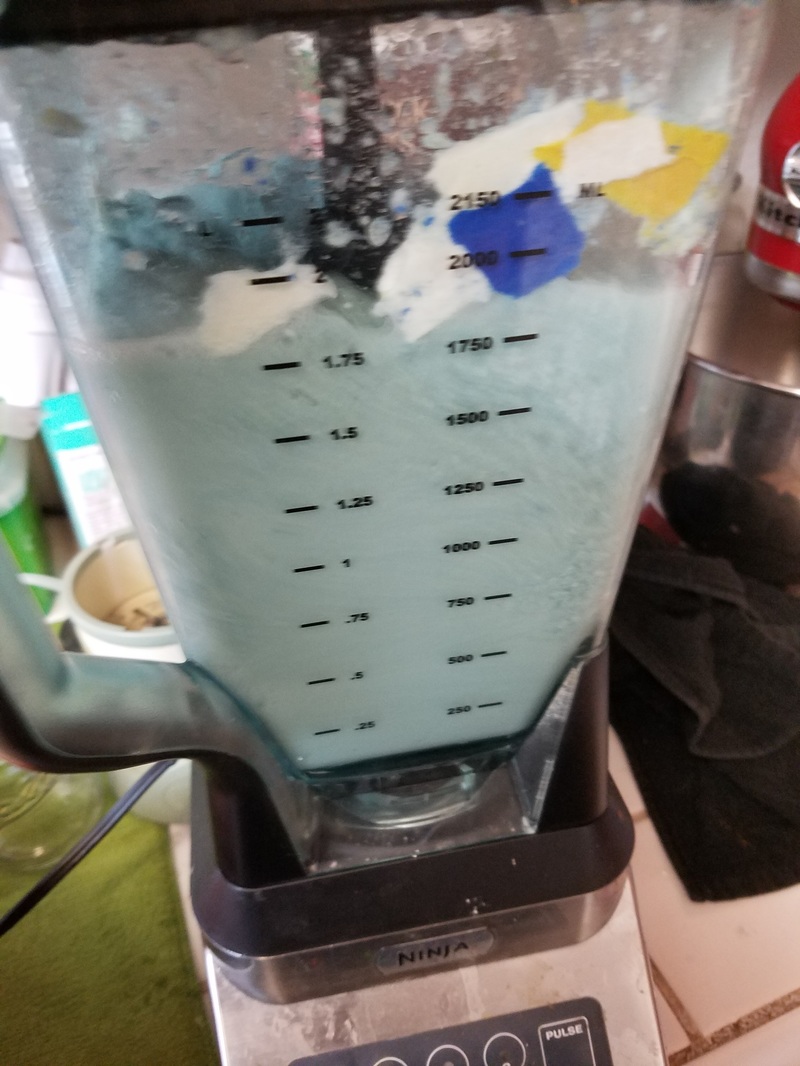
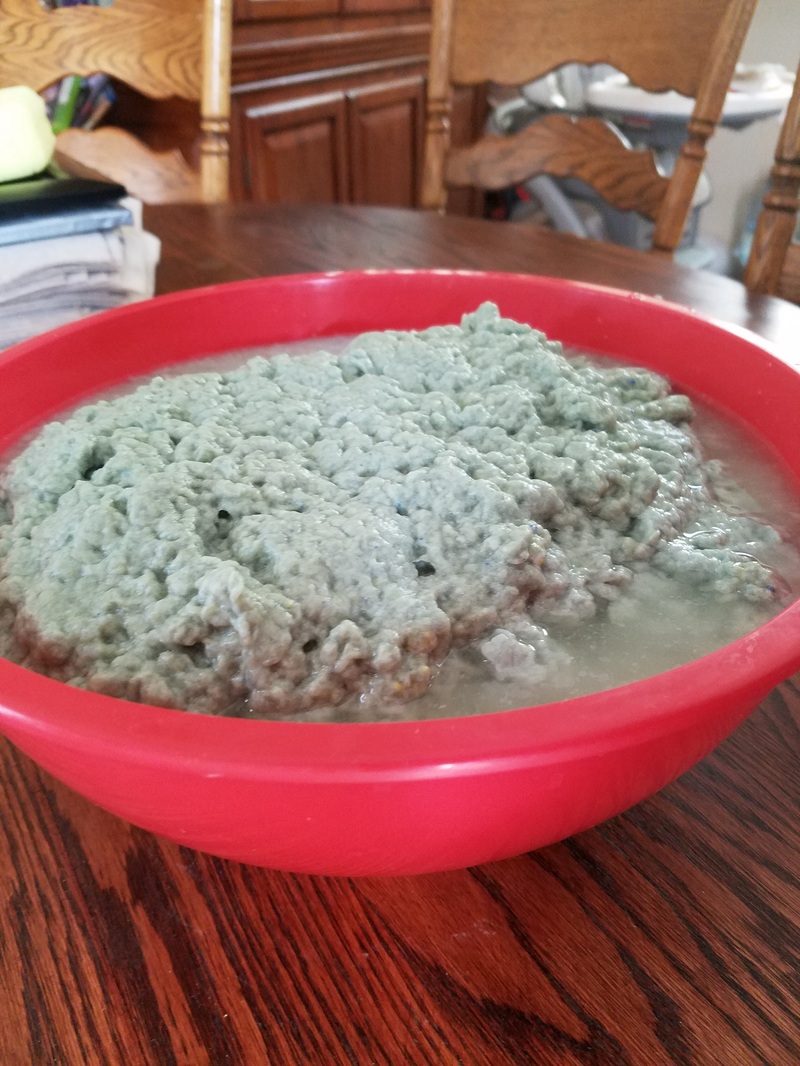
Step 2: Make a slurry
This is the water and paper mixture that helps break down the material so that you can remold your own paper. You will need:
This is the water and paper mixture that helps break down the material so that you can remold your own paper. You will need:
- a large bowl
- a blender
- water
- small bits of paper
 |  |  |
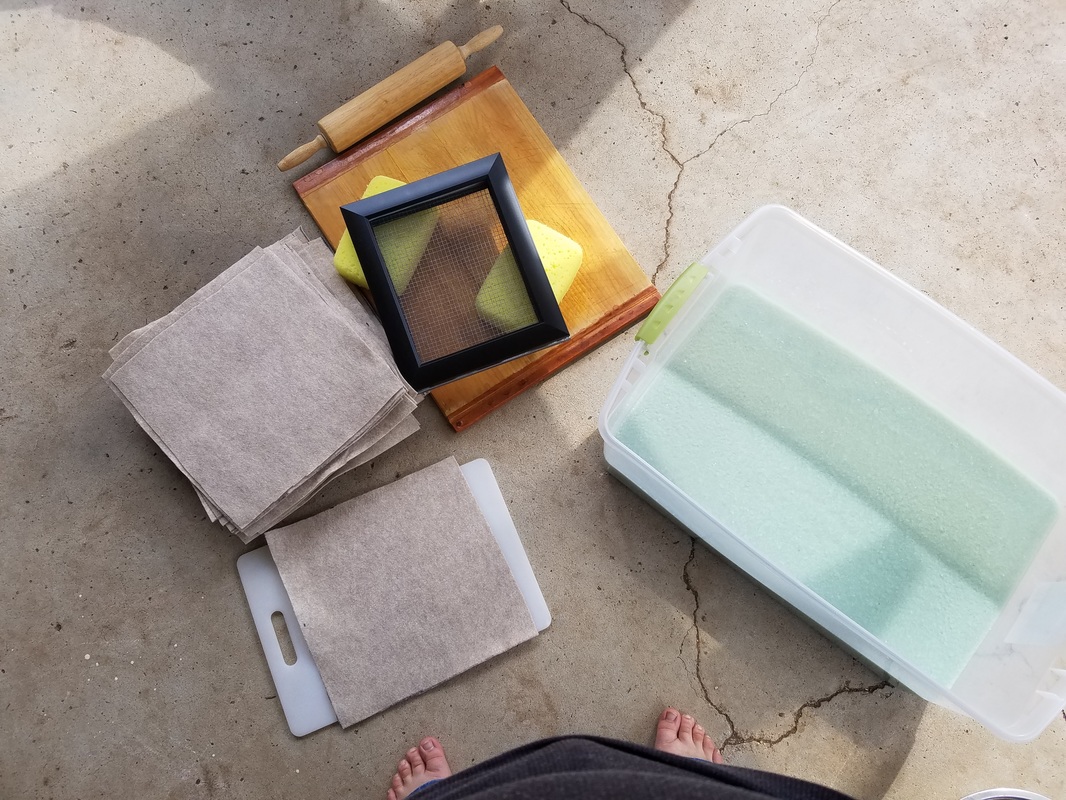
Step 3: Dipping paper (Also called couching) That's pronounced coo-ching.
Then transfer the slurry to a vat (tub) that is bigger than your mould and deckle, so that dipping and drying is an easier process. You will need:
Begin by dipping the mould and deckle in the slurry. Pull it out of the mixture and shake it so that it shifts to fill the mould. Let this drip dry. Remove the deckle.
Get the sponge and absorb some of the water, and carefully transfer the paper to a wool felt piece. Think of this as a door motion, rest the edge of the mould on the felt and tip it down onto the felt, then carefully lift one of the edges, leaving the paper behind on the felt.
This was the part that I could not get right. I tried for about an hour, and every time the paper would fall apart.
After the paper is on the felt, use the sponges and rolling pin to push out more water.
Place another piece of wool felt over the paper, and repeat the process until you have a small stack.
Place a board over the stack and stand on the paper to drain out even more water.
Transfer the from the wool felt to a flat clean surface to dry. Depending on the humidity and exposure to the elements, this can take anywhere from 2 to 3 days to dry. The paper, from what I hear, will be wavy and wild giving it a very "homemade" look.
You can make this paper from scraps of paper (I used my nephews old drawings), lint from the dryer, feathers, and even leaves and other organic material. If you are going to use leaves, you will need to make sure to starch the material so that it breaks down fast enough.
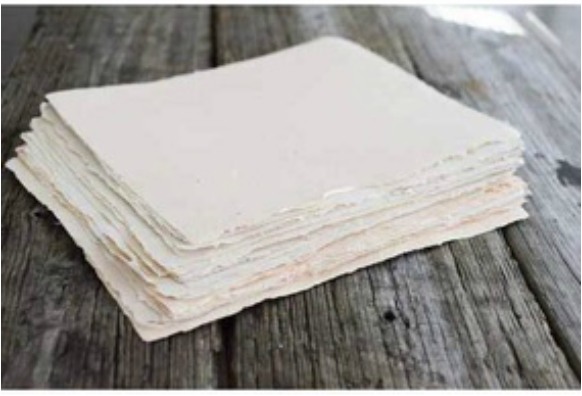
I used tutorials from paperslurry.com and pioneerthinking.com. After having attempted to do this myself, I have to admit that these people are champions. The image below is of the final product in the paperslurry.com tutorial.
Then transfer the slurry to a vat (tub) that is bigger than your mould and deckle, so that dipping and drying is an easier process. You will need:
- Your mould and deckle
- The slurry mixture in a vat
- sponges for drying
- a rolling pin for more drying
- wool felt to place between sheets of paper during pressing
- a board to stand on for pressing
Begin by dipping the mould and deckle in the slurry. Pull it out of the mixture and shake it so that it shifts to fill the mould. Let this drip dry. Remove the deckle.
Get the sponge and absorb some of the water, and carefully transfer the paper to a wool felt piece. Think of this as a door motion, rest the edge of the mould on the felt and tip it down onto the felt, then carefully lift one of the edges, leaving the paper behind on the felt.
This was the part that I could not get right. I tried for about an hour, and every time the paper would fall apart.
After the paper is on the felt, use the sponges and rolling pin to push out more water.
Place another piece of wool felt over the paper, and repeat the process until you have a small stack.
Place a board over the stack and stand on the paper to drain out even more water.
Transfer the from the wool felt to a flat clean surface to dry. Depending on the humidity and exposure to the elements, this can take anywhere from 2 to 3 days to dry. The paper, from what I hear, will be wavy and wild giving it a very "homemade" look.
You can make this paper from scraps of paper (I used my nephews old drawings), lint from the dryer, feathers, and even leaves and other organic material. If you are going to use leaves, you will need to make sure to starch the material so that it breaks down fast enough.
I used tutorials from paperslurry.com and pioneerthinking.com. After having attempted to do this myself, I have to admit that these people are champions. The image below is of the final product in the paperslurry.com tutorial.
I am not giving up here with the paper, I will try again. But for the sake of this blog I need to move on. When I attempt this again, I will write an update blog.
The Things I have Learned:
1. How expensive is this? - This cost about 50.00 because of the need for the hardware cloth, screening material, weatherstrip tape, frames, and wool.
2. Are there enough online blogs and tutorials to cover my lack of knowledge? - There were two, and they were helpful, however there was some major user error going on this week.
3. Are there different kinds/styles of book binding?- Yes, yes there is. Read Blog #1 to learn about some, go to my Pinterest board to learn more. Blog #2 I use the Box Stitch, Blog #3 I use the Hempleaf stitch. But, this week was about creating paper, not doing a book binding.
4. Is there a potential to hurt myself? - Yes, This time around were countless pokes from the hardware cloth, and that was just from putting duct tape on it. This is how accident prone I am, when my husband found out I was using wire cutters and hardware cloth he said he would be doing that part. We compromised, and I got to use the staple gun. Blog #2 I burned my hand with the ribbon and Blog #3 I poked my hand about three times with the needle.
5. How quickly does book binding happen? - Blog #2 (the Box stitch and first attempt) took me about and two and half hours to make. Blog #3 took me about one and a half hours, because measuring and cutting paper takes time. This week took me about 8 hours, until I surrender.
6. Is there a "master" local book binder I can learn from? - I think I am going to stick with my online masters. If I happen to come across someone who knows more about book binding and can talk to me about I will defiantly have a LONG conversation with them, but I'm not going to go seek anyone out.
7. What am I going to create, a journal, a binding of my students work, a collection of poems that inspire me? - I am defiantly creating journals, and the first two are going to be Thank you gifts for my TA's and the last one will be a collection of poems from my students (who do inspire me).
8. Is this more difficult the bigger the book gets? - The actual stitching does not get more difficult, but it does take more material. One thing I am noticing that becomes more difficult is keeping the stitching tight.
9. How can I make larger holes, can I continue to use the binding awl, or will I need to use another tool? I needed to use the power drill to make the holes for this book, I am sure I will need it to make hole for my last book.
10. How will I get a hole through a hard cover? - I'm not doing the hard cover until Blog #5, and I am 99% sure I will be using the drill.
11. Can I, should I, use a smaller gauge needle? - I did not need to change the gauge of my needle because I made larger holes and used smaller treading material.
Answers to New Questions:
12. How do I make a fold seam on a hard cover book? I have began researching this, and it is going to take some math :(
13. What is the best material to use when making my own paper? Anything really, from recycled paper, to dryer lint, to feathers. The best item that was mentioned was the produce flats that go in between the layers of fruit shipped to a grocery story. I couldn't get a hold of these in time, so I used my nephews old drawings.
New Questions:
14. Where can I find wallpaper? Seriously, I have looked everywhere, where is the world hiding it?
15. Next week I use an exacto knife, any safety tips?
